All sorts of creations can be seen across the Chigwell Allotments for keeping birds & butterflies from attacking vegetables, particularly those in the brassica family, which somehow tend to be more morish for these creatures.
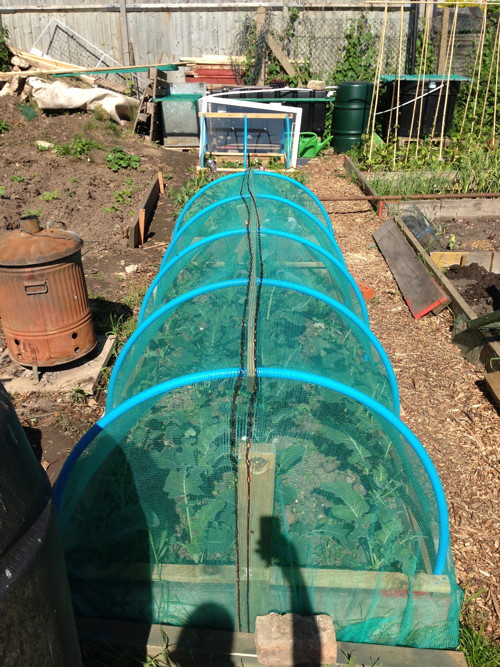
I think one of the best ways is to create a mini polytunnel type structure from polypipe and scaffold netting. I built five of these this week, which sit on top of the raised beds. Here's how.
1. Cut three pieces of wood which matches the length of the area you wish to cover, or in my case the length of the raised bed. Cut two pieces of wood to match the width of the area or raised bed. I wanted my frames to sit on the wooden edges of the raised bed rather than directly on the soil. I figure the wooden frame is much less prone to rot if sat above the soil.
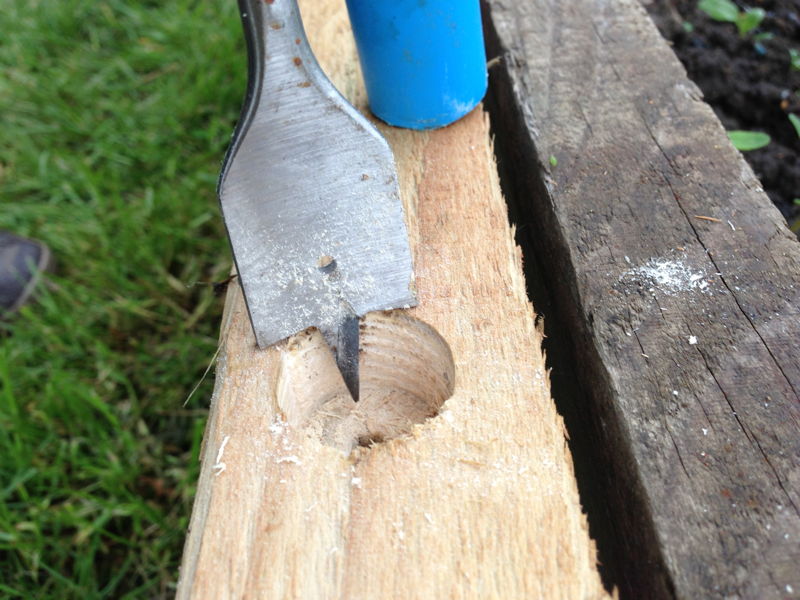
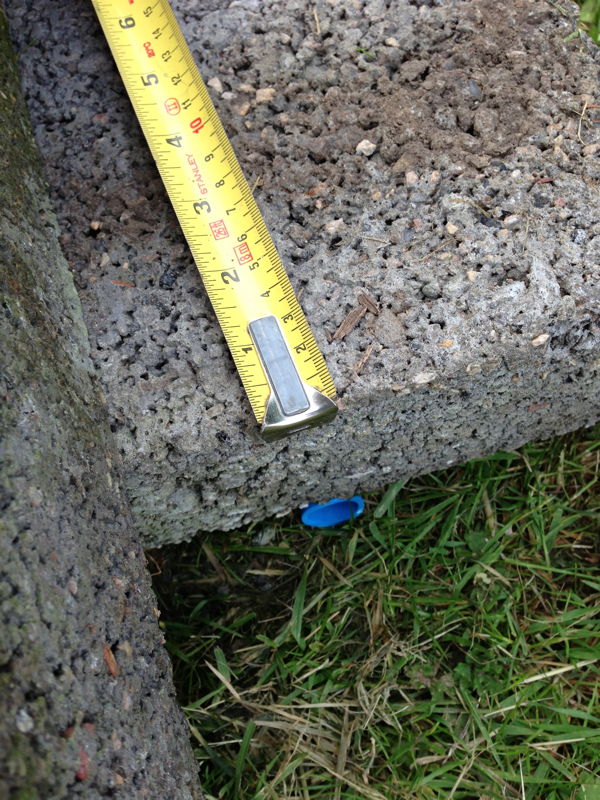
2. Take the three longest pieces and prepare to drill holes which will be used to push the polypipe through, forming the arching structure. Two holes are drilled at the ends of each piece of wood, 5cm from the end. Each support should be between no closer than 50cm and further than 80cm along the length. Use this as a guide for working out the number of supports spaced equally along its length.
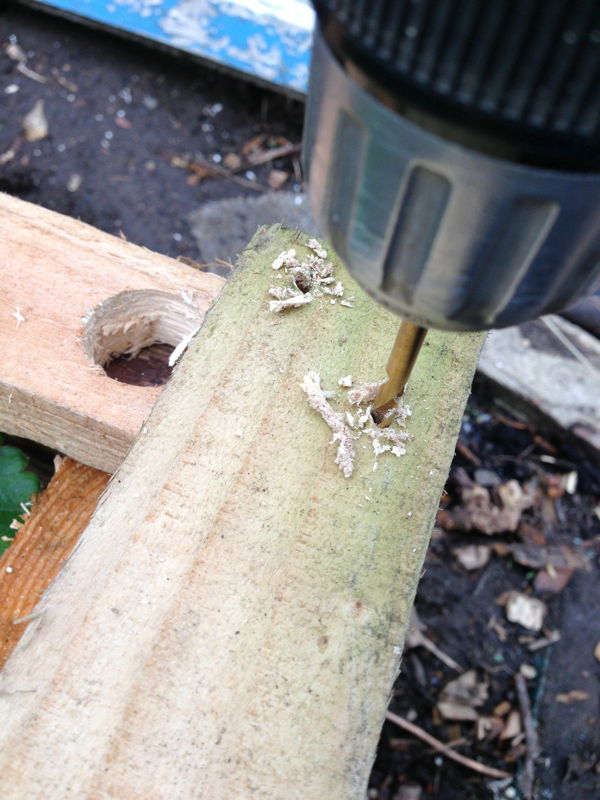
3. Drill holes using a drill bit which matches the diameter of the pipe you are using. There are lots of different diameter pipes. I'm using 25mm and therefore have used a 25mm cutter. It's important this is a tight fit as this will add strength and ensure stability. Drill half way through, turn the piece over and drill from the other side to ensure the wood doesn't split.
The third piece is used as the supporting strut to keep the pipes upright and more stable.
3. This frame is screwed together in each of the corners.
4. Cut the lengths of pipe to form the arching structure. This isn't as easy as it sounds particularly when working alone and with the pipe already coiled. Using two concrete blocks, I rigged up a system where one end of the pipe could be held whilst I measured and cut the pipe. I discovered the secateurs are actually great at cutting plastic pipe.

You could calculate the lengths of pipe required using this simple formula, but this is only a rough approximation as it very much depends on the height of the tunnel that you require and therefore the imperfect semicircle that is formed.
circumference of a circle = pi x diameter
therefore, pi (3.14) x (width of bed) divided by 2 will give approx. circumference of the semi circle.
In the case of my raised bed, 117cm wide, this became
(3.14 x 117) / 2 = 183cm
I actually cut the pipe at lengths of 200cm, this allowed for the additional height. Cutting one and creating the arch gives you a very good idea of what to expect when all put together.
5. With all the pieces of pipe cut to the same length, these needed to be threaded through the third length of wood, with approximately the same length of pipe either side.
6. Place all the ends of the pipe into the holes in the frame.
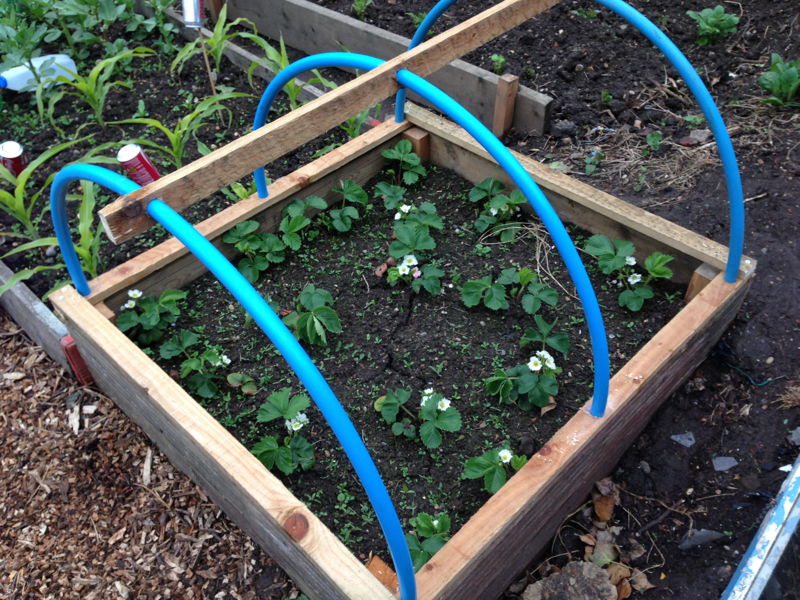
Now all that is required is to cover the frame with the netting you have. I'm using recycled scaffold netting, but that's entirely up to you. I weighted the netting down using some bricks, along the length and width of the raised bed.
Job done.